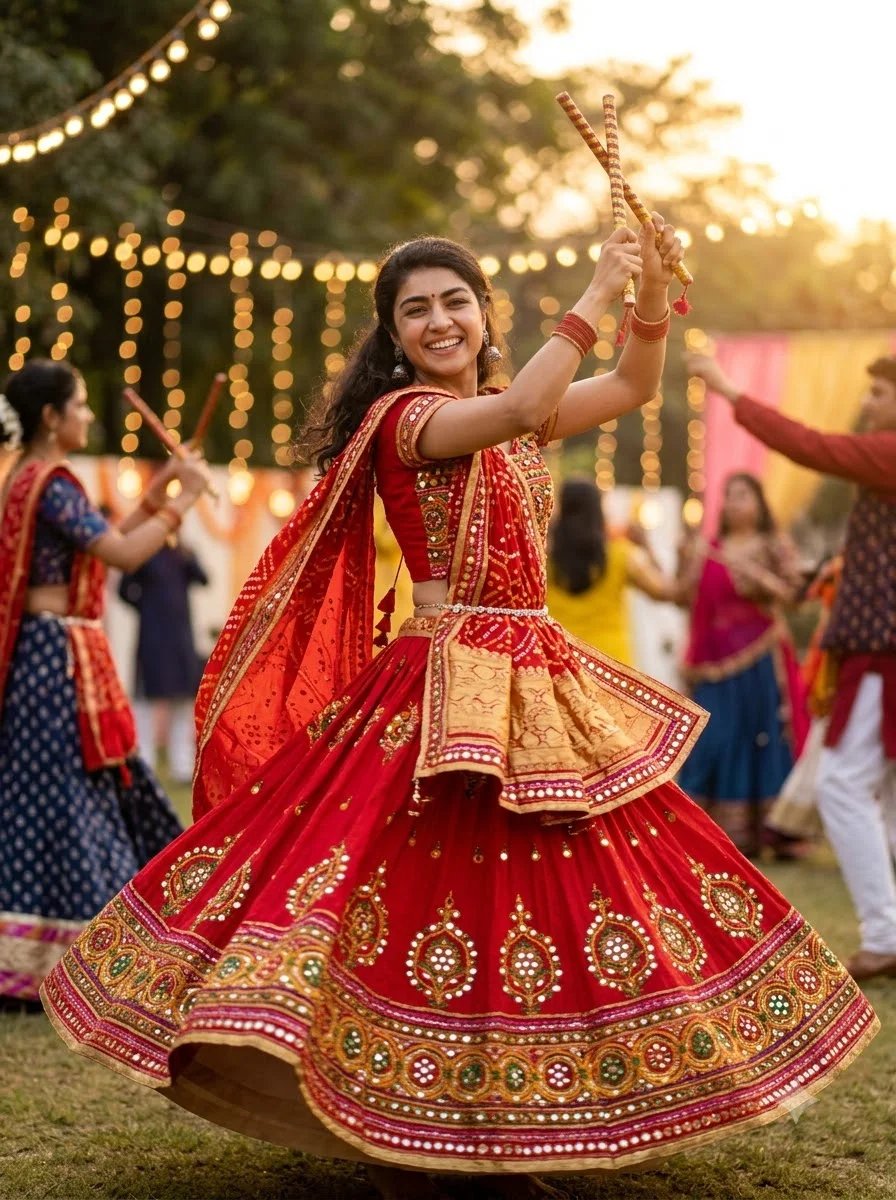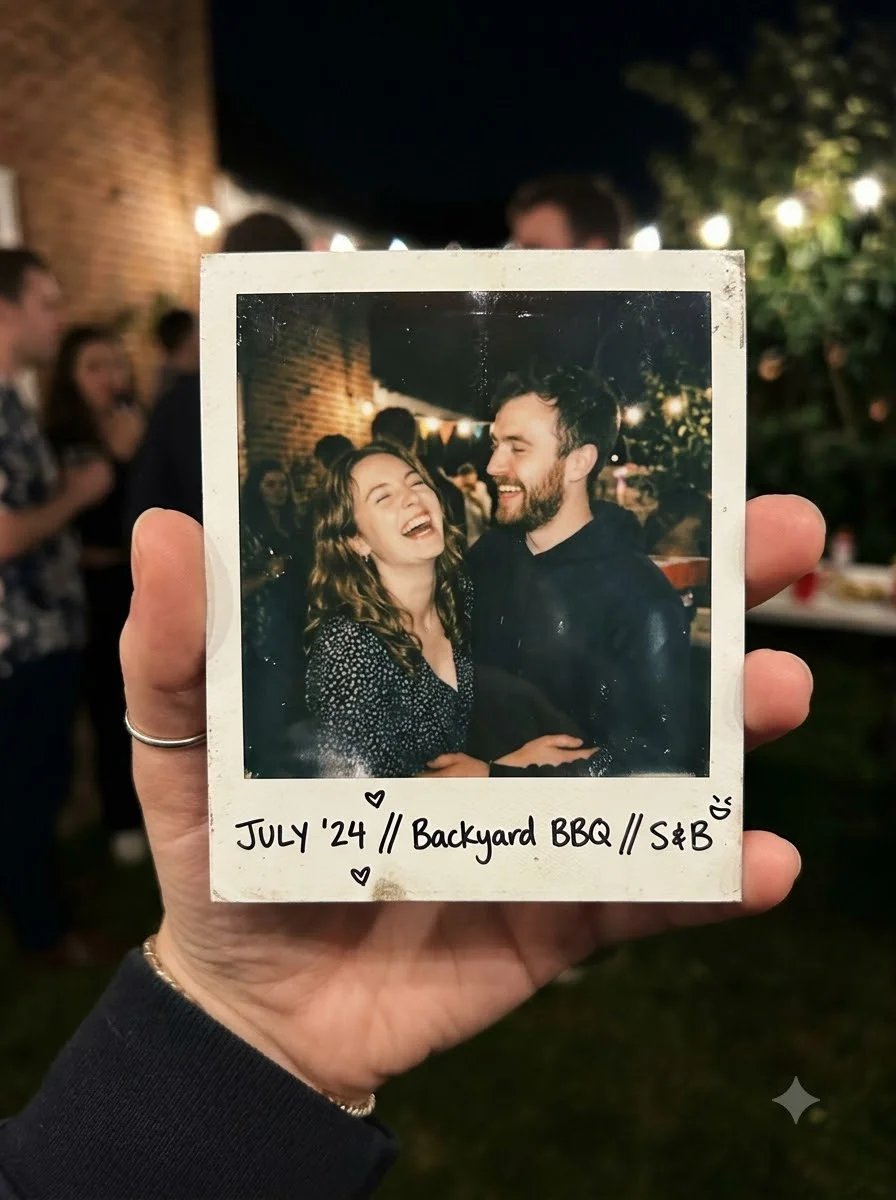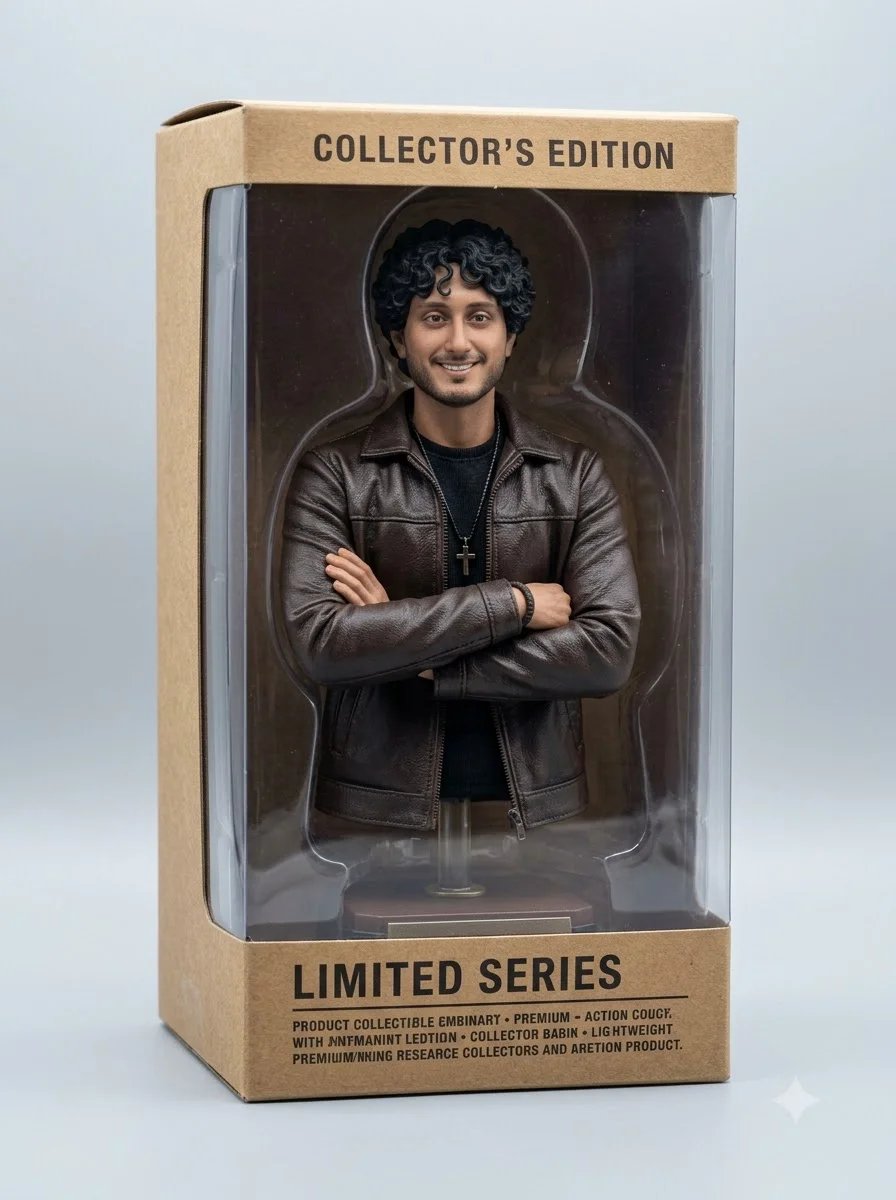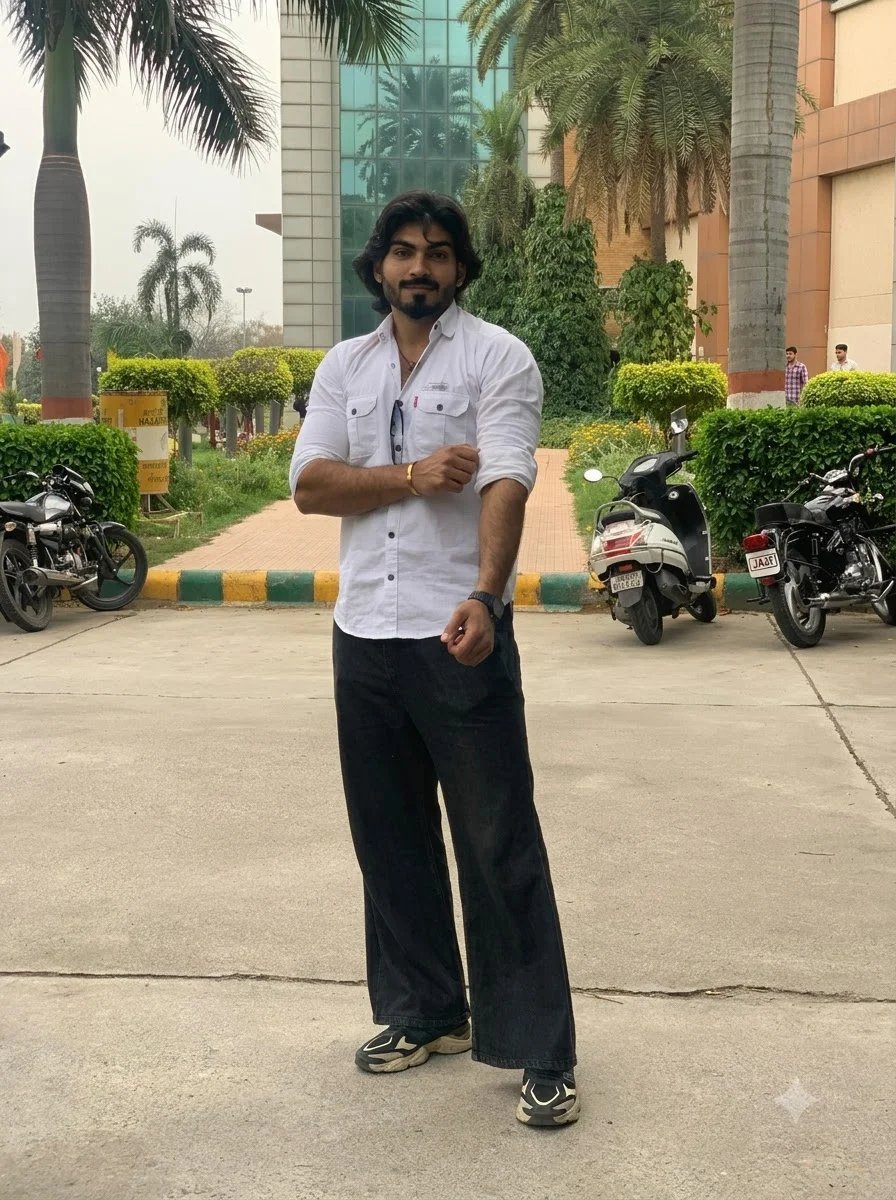
Before the prompts — one honest note, because a lot of “4K prompt” content skips it: “4K” in these prompts describes the level of detail and realism you’re asking for, not a guaranteed output resolution. Gemini’s consumer app currently limits downloads to 1K or 2K depending on your plan, and that can change without notice. If a page promises a literal 4K file straight out of a text prompt, treat it skeptically. What you can reliably get is a sharper, cleaner, more detailed-looking image — which is what most people actually mean by “make this 4K.”
This is also a different job from restoring an old, damaged photo (torn, faded, water-stained) — that’s covered on our old photo restoration page. This page is about improving detail, lighting and realism on photos that are otherwise intact but soft, dark, or low-res.
What “4K wording” can and can’t do
| You ask for | What actually happens |
|---|---|
| “Enhance to 4K, ultra HD” | Gemini improves sharpness, detail and lighting — output resolution is still capped by your plan’s download settings |
| “Add fine skin/hair/fabric detail” | This works well and is the real driver of a “higher quality” look |
| “Fix low light and noise” | Works well — name the specific problem (grain, blur, underexposure) |
| “Upscale to a specific pixel dimension” | Not something a text prompt reliably controls — check your download settings instead |
Portrait enhancement prompts
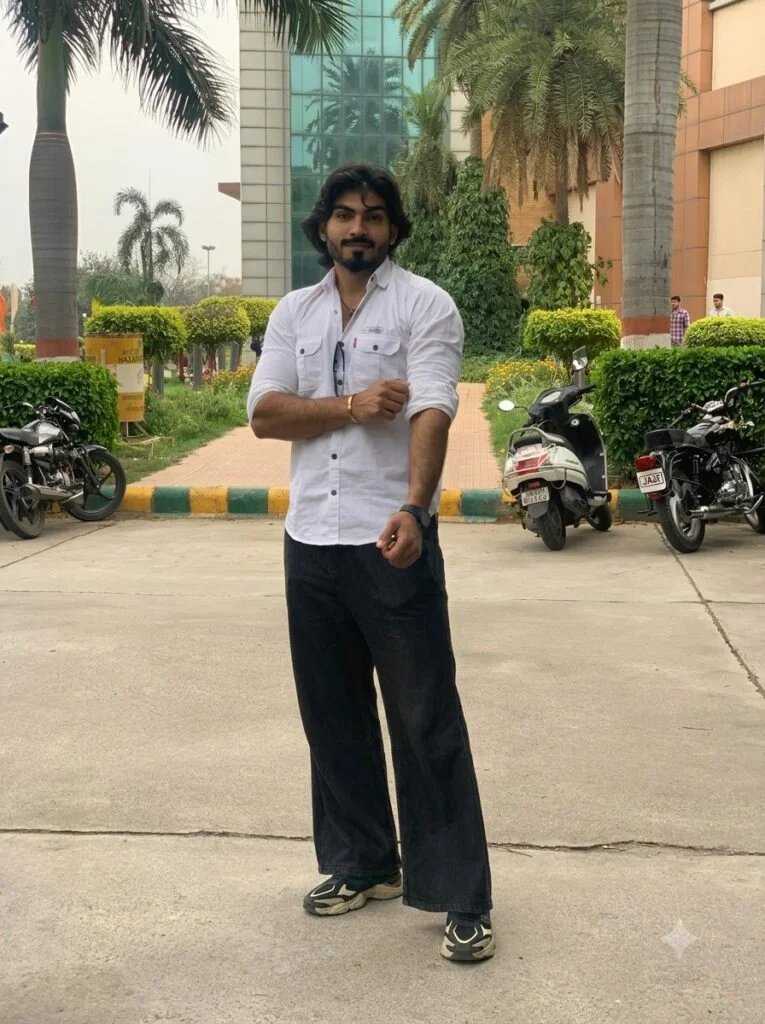
Enhance this photo for sharper facial detail and natural skin texture, correct any blur, keep the person's exact facial features and expression unchanged, realistic photographic quality, no over-smoothing. Keep the uploaded photo's original aspect ratio and composition.
An editing instruction for “Sharpen Facial Detail and Natural Skin Texture,” designed for clearer detail while protecting identity, texture, and natural color.
- Best for: cleaner social posts, profile pictures, and print-ready edits.
- Aspect ratio: keep the uploaded photo’s original ratio.
- Customisation tip: Name the main defect first and keep the identity-preservation instruction unchanged.
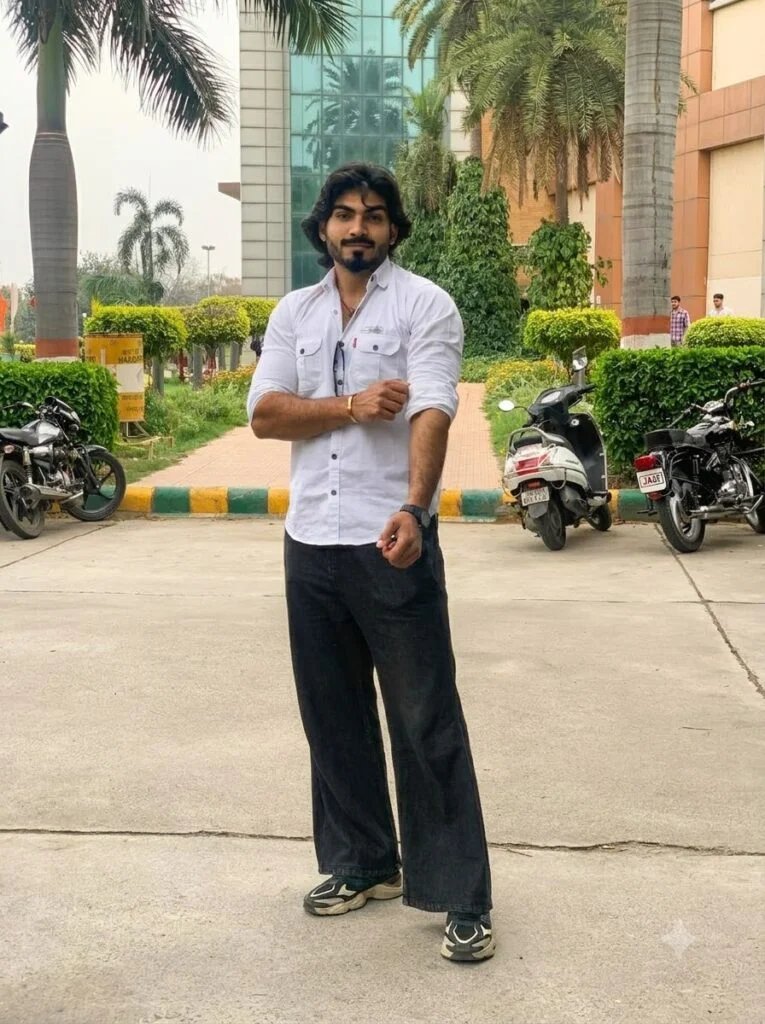
Improve the lighting on this portrait to look naturally bright and evenly lit, retain original facial features, sharpen fine details like eyelashes and hair strands, photorealistic result. Keep the uploaded photo's original aspect ratio and composition.
An editing instruction for “Correct Portrait Lighting Naturally,” designed for clearer detail while protecting identity, texture, and natural color.
- Best for: cleaner social posts, profile pictures, and print-ready edits.
- Aspect ratio: keep the uploaded photo’s original ratio.
- Customisation tip: Name the main defect first and keep the identity-preservation instruction unchanged.
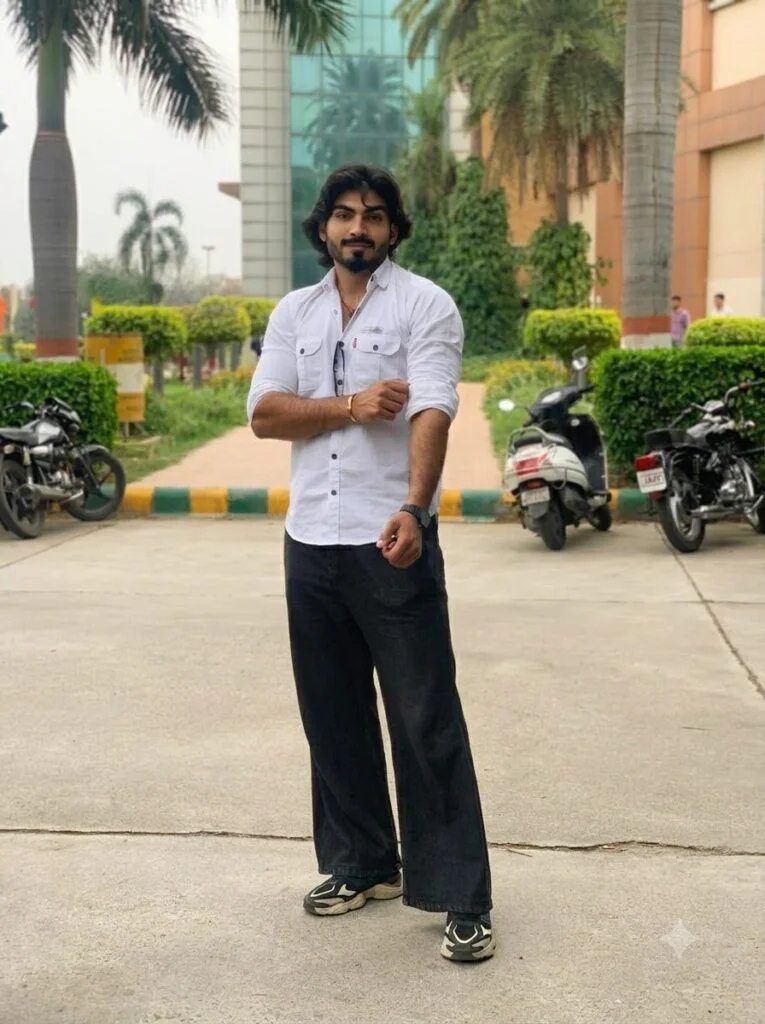
Sharpen this photo's focus on the face and eyes specifically, keep the background softly blurred as in the original, enhance natural skin texture without smoothing away pores or fine lines, realistic result. Keep the uploaded photo's original aspect ratio and composition.
An editing instruction for “Sharpen Eyes and Facial Focus,” designed for clearer detail while protecting identity, texture, and natural color.
- Best for: cleaner social posts, profile pictures, and print-ready edits.
- Aspect ratio: keep the uploaded photo’s original ratio.
- Customisation tip: Name the main defect first and keep the identity-preservation instruction unchanged.
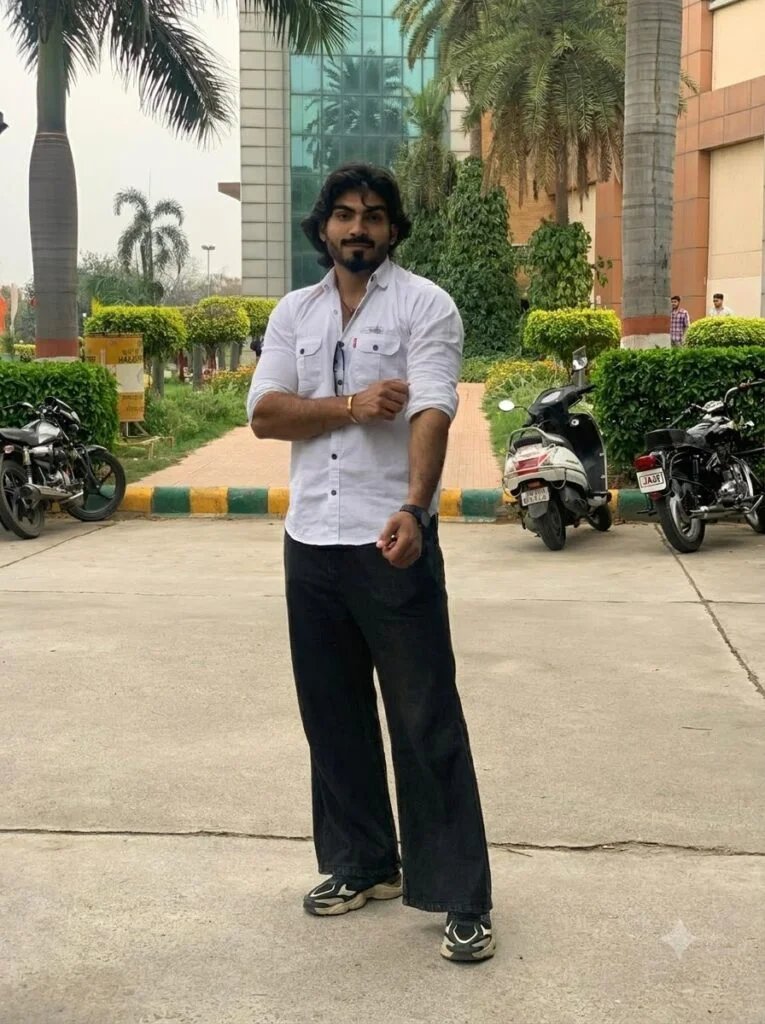
Correct the white balance and color cast on this photo so skin tones look natural, sharpen overall detail, keep the composition and expression exactly as in the original, photorealistic. Keep the uploaded photo's original aspect ratio and composition.
An editing instruction for “Correct White Balance and Skin Tones,” designed for clearer detail while protecting identity, texture, and natural color.
- Best for: cleaner social posts, profile pictures, and print-ready edits.
- Aspect ratio: keep the uploaded photo’s original ratio.
- Customisation tip: Name the main defect first and keep the identity-preservation instruction unchanged.
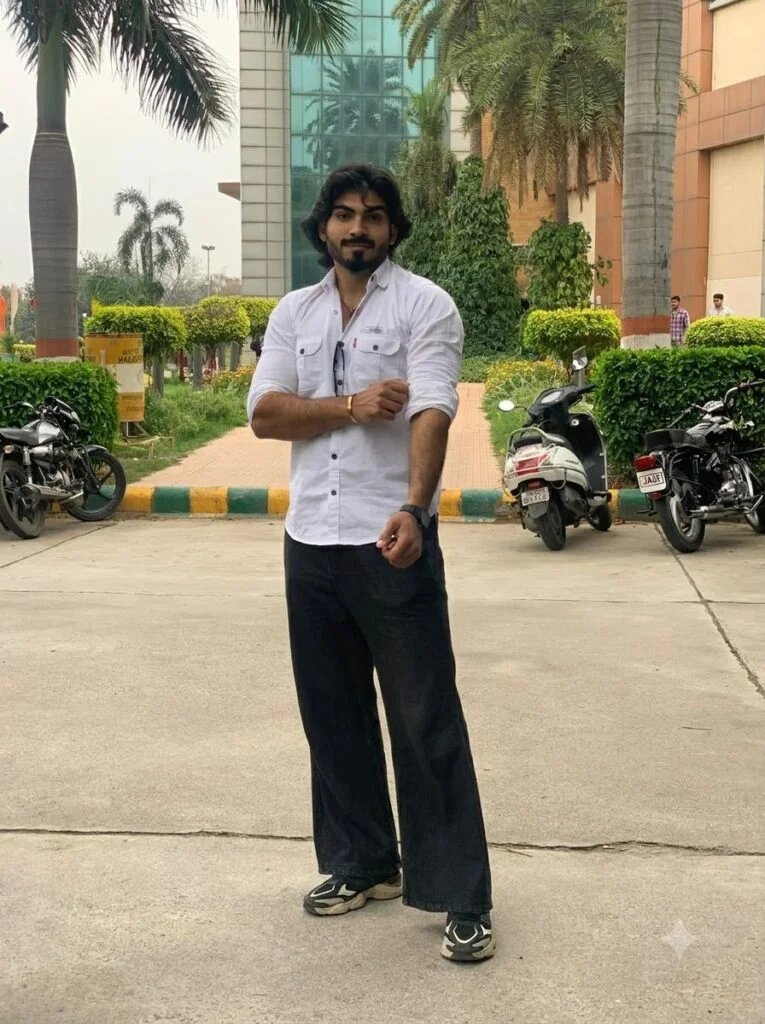
Enhance fine detail in the hair and clothing texture in this photo, keep facial features unchanged, improve overall clarity without altering the pose or background. Keep the uploaded photo's original aspect ratio and composition.
An editing instruction for “Enhance Hair and Clothing Texture,” designed for clearer detail while protecting identity, texture, and natural color.
- Best for: cleaner social posts, profile pictures, and print-ready edits.
- Aspect ratio: keep the uploaded photo’s original ratio.
- Customisation tip: Name the main defect first and keep the identity-preservation instruction unchanged.
Low-light fixes
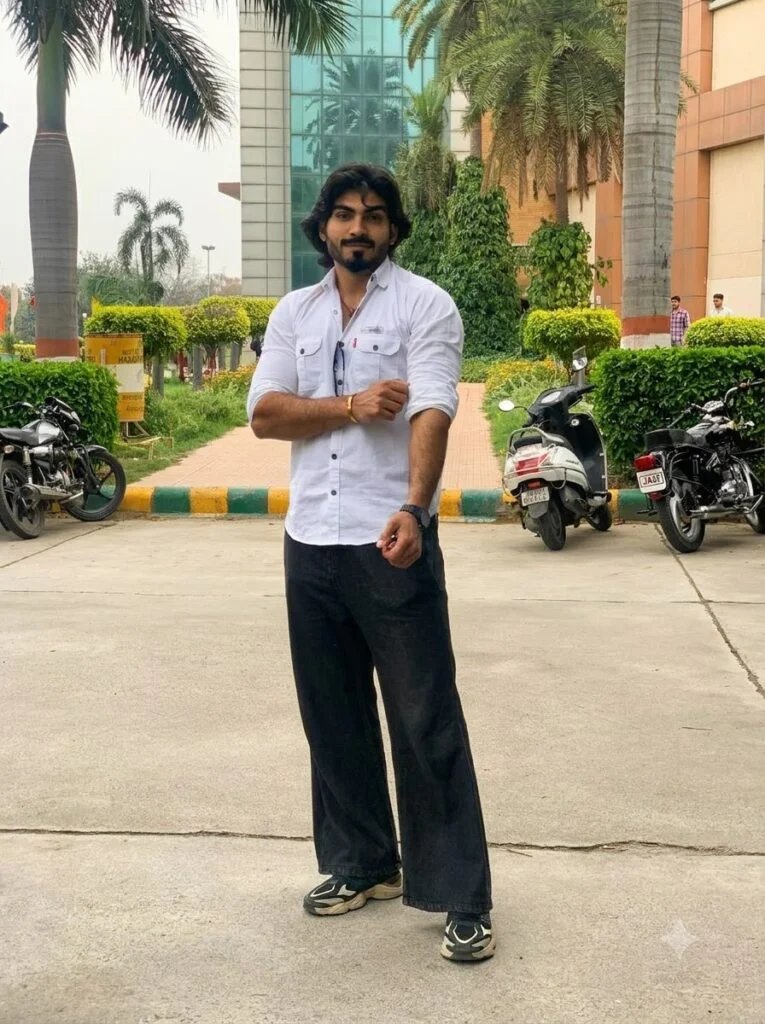
Brighten this photo taken in low light, reduce visible grain and noise, keep colors natural rather than oversaturated, retain the original composition, photorealistic result. Keep the uploaded photo's original aspect ratio and composition.
An editing instruction for “Brighten a Noisy Low-Light Photo,” designed for clearer detail while protecting identity, texture, and natural color.
- Best for: dark, noisy, or underexposed photos.
- Aspect ratio: keep the uploaded photo’s original ratio.
- Customisation tip: Name the main defect first and keep the identity-preservation instruction unchanged.
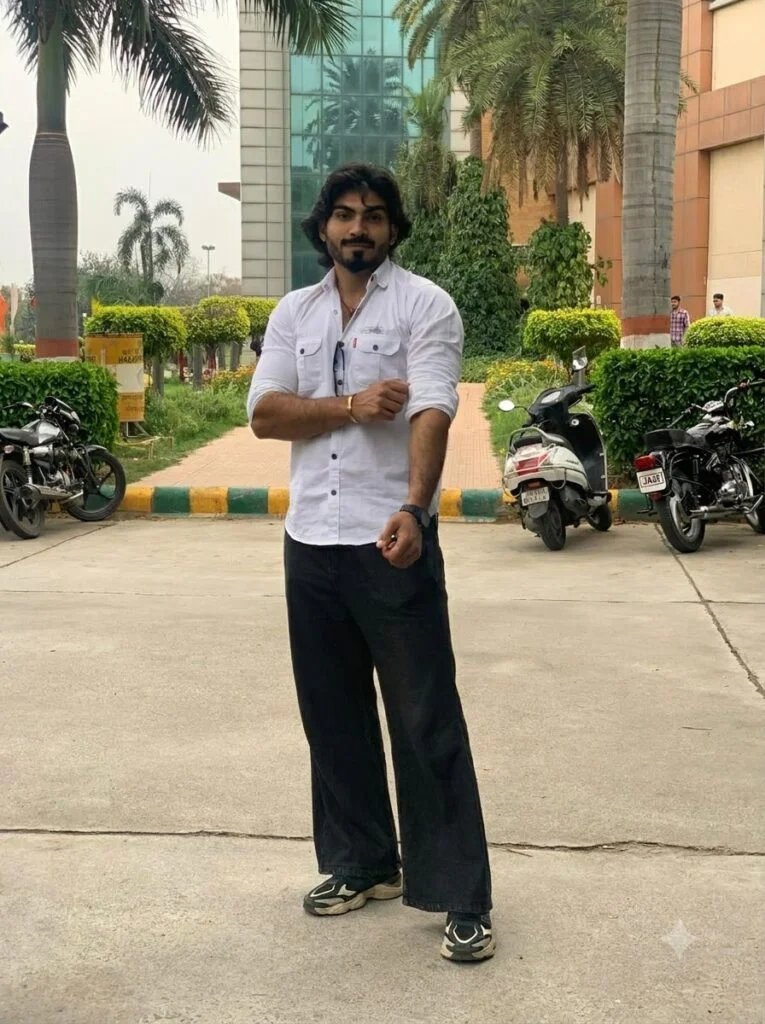
Correct this underexposed photo to reveal detail in the shadows without blowing out the highlights, keep the mood natural rather than artificially bright, realistic result. Keep the uploaded photo's original aspect ratio and composition.
An editing instruction for “Recover Detail in an Underexposed Photo,” designed for clearer detail while protecting identity, texture, and natural color.
- Best for: dark, noisy, or underexposed photos.
- Aspect ratio: keep the uploaded photo’s original ratio.
- Customisation tip: Name the main defect first and keep the identity-preservation instruction unchanged.
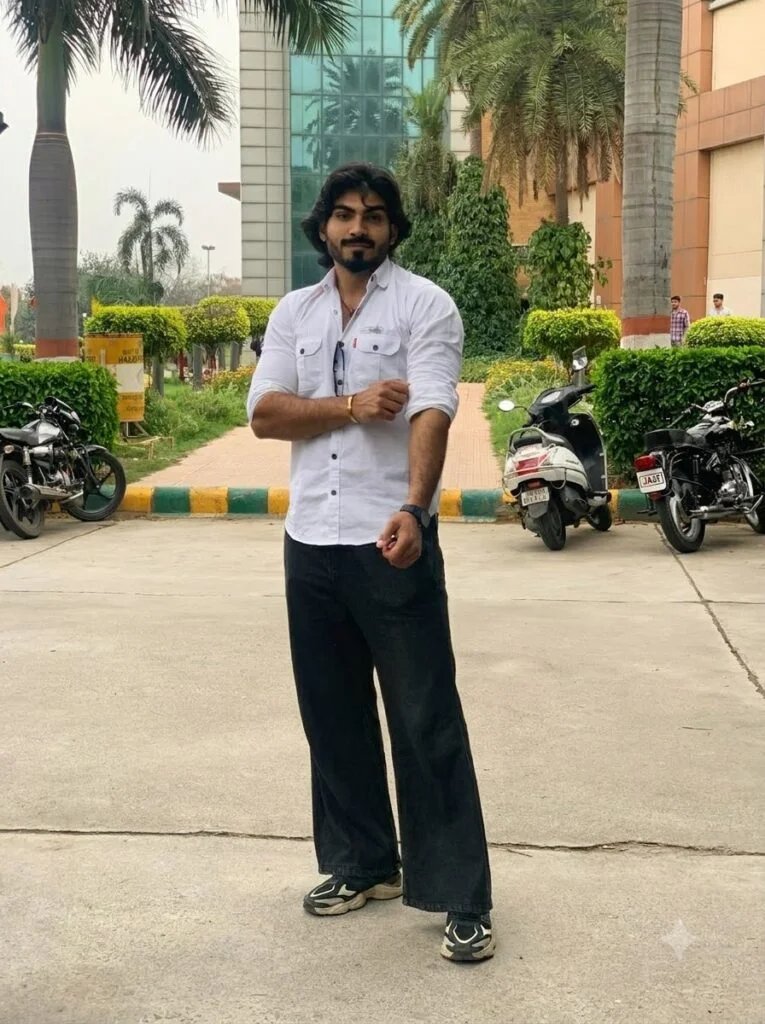
Fix the yellow/orange color cast from indoor lighting in this photo, correct white balance to look natural, sharpen detail, keep everything else in the image unchanged. Keep the uploaded photo's original aspect ratio and composition.
An editing instruction for “Remove an Indoor Yellow or Orange Cast,” designed for clearer detail while protecting identity, texture, and natural color.
- Best for: dark, noisy, or underexposed photos.
- Aspect ratio: keep the uploaded photo’s original ratio.
- Customisation tip: Name the main defect first and keep the identity-preservation instruction unchanged.
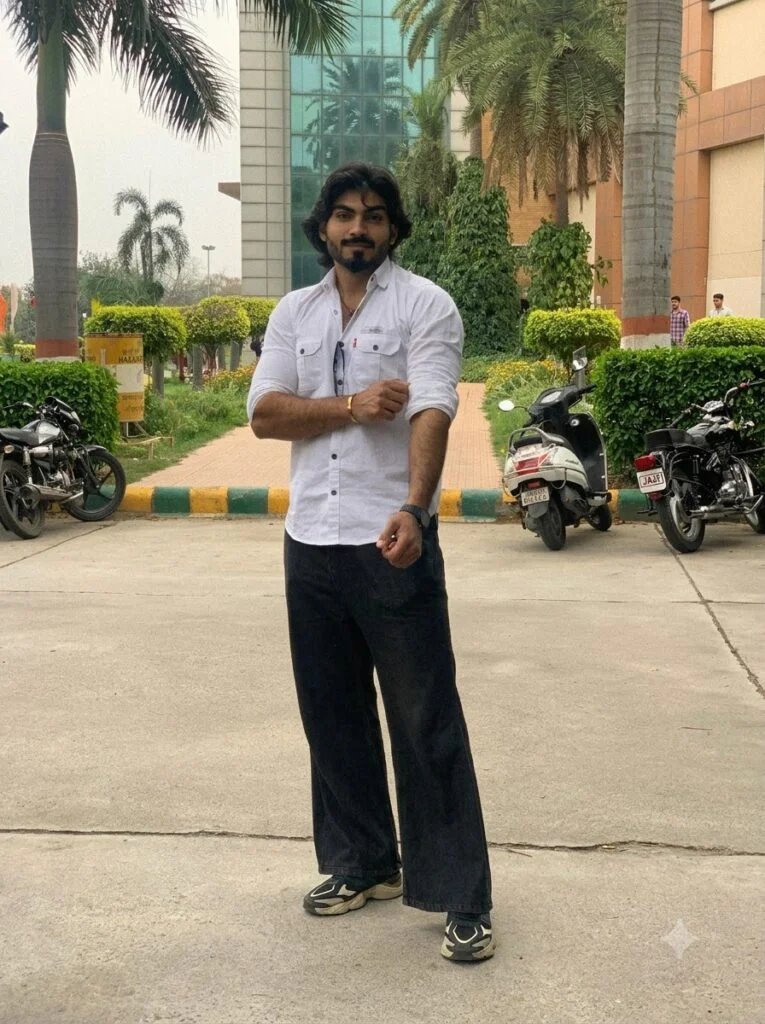
Reduce motion blur in this low-light photo while keeping the natural grain characteristic of the original lighting condition, sharpen the subject's face specifically, realistic result. Keep the uploaded photo's original aspect ratio and composition.
An editing instruction for “Reduce Low-Light Motion Blur,” designed for clearer detail while protecting identity, texture, and natural color.
- Best for: dark, noisy, or underexposed photos.
- Aspect ratio: keep the uploaded photo’s original ratio.
- Customisation tip: Name the main defect first and keep the identity-preservation instruction unchanged.
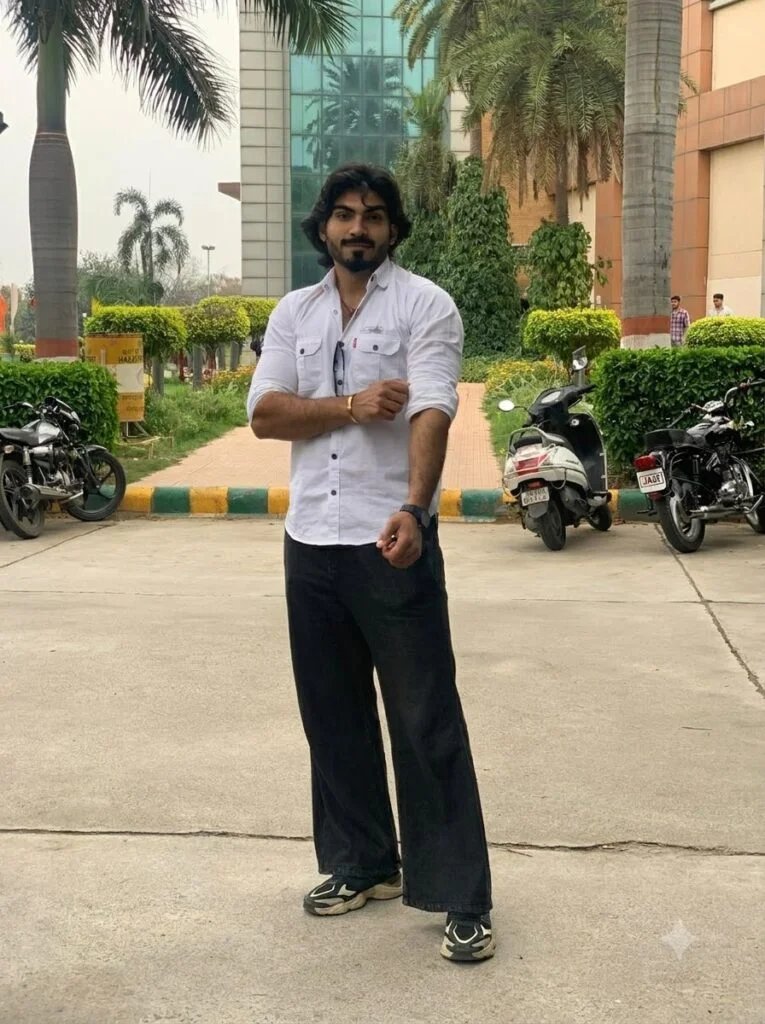
Improve visibility and detail in this backlit photo where the subject is in shadow against a bright background, balance the exposure naturally, keep the original framing. Keep the uploaded photo's original aspect ratio and composition.
An editing instruction for “Recover Detail in a Backlit Portrait,” designed for clearer detail while protecting identity, texture, and natural color.
- Best for: dark, noisy, or underexposed photos.
- Aspect ratio: keep the uploaded photo’s original ratio.
- Customisation tip: Name the main defect first and keep the identity-preservation instruction unchanged.
Texture & detail work
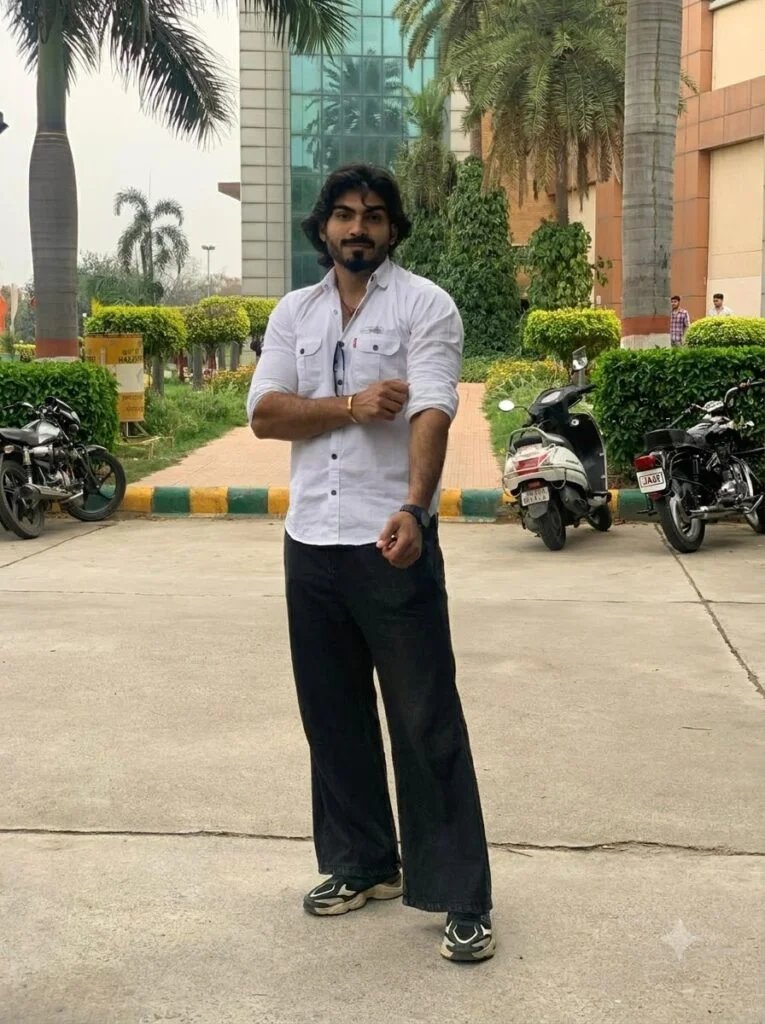
Enhance fabric texture detail in this photo — visible weave and stitching on the clothing — without altering colors or the pose, photorealistic, natural result. Keep the uploaded photo's original aspect ratio and composition.
An editing instruction for “Enhance Fabric Weave and Stitching,” designed for clearer detail while protecting identity, texture, and natural color.
- Best for: fabric, hair, jewelry, and small-detail enhancement.
- Aspect ratio: keep the uploaded photo’s original ratio.
- Customisation tip: Name the main defect first and keep the identity-preservation instruction unchanged.
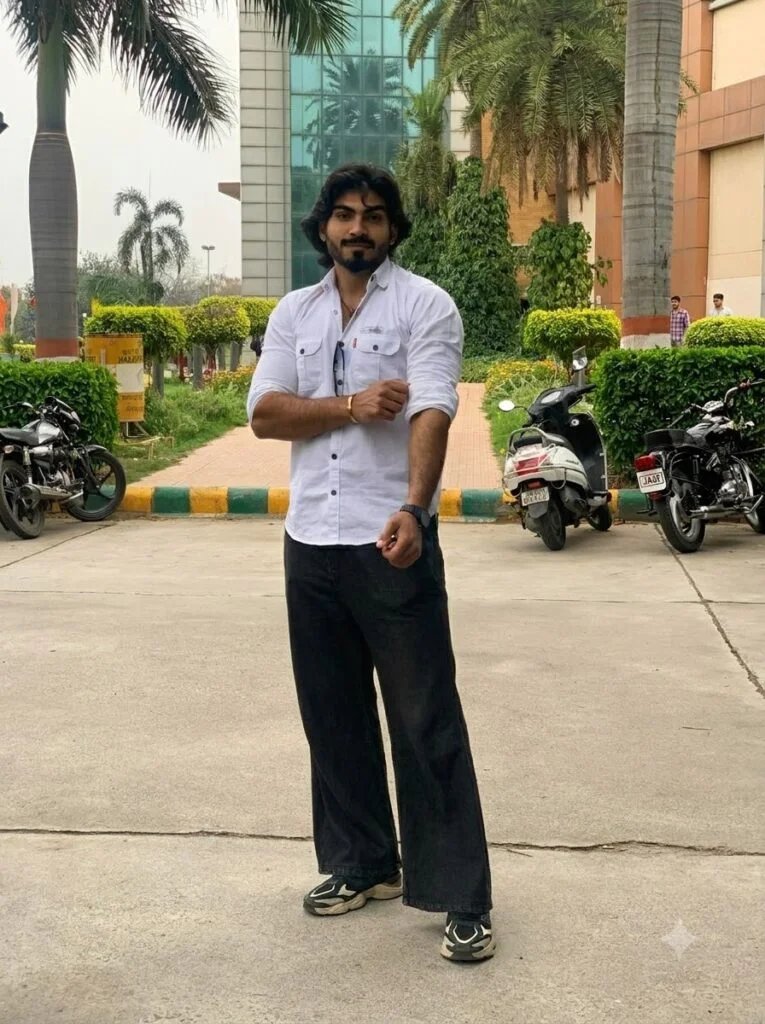
Sharpen background detail in this landscape or scenery photo, bring out texture in elements like foliage, stone or water, keep the overall color grading natural. Keep the uploaded photo's original aspect ratio and composition.
An editing instruction for “Sharpen Landscape Background Detail,” designed for clearer detail while protecting identity, texture, and natural color.
- Best for: fabric, hair, jewelry, and small-detail enhancement.
- Aspect ratio: keep the uploaded photo’s original ratio.
- Customisation tip: Name the main defect first and keep the identity-preservation instruction unchanged.
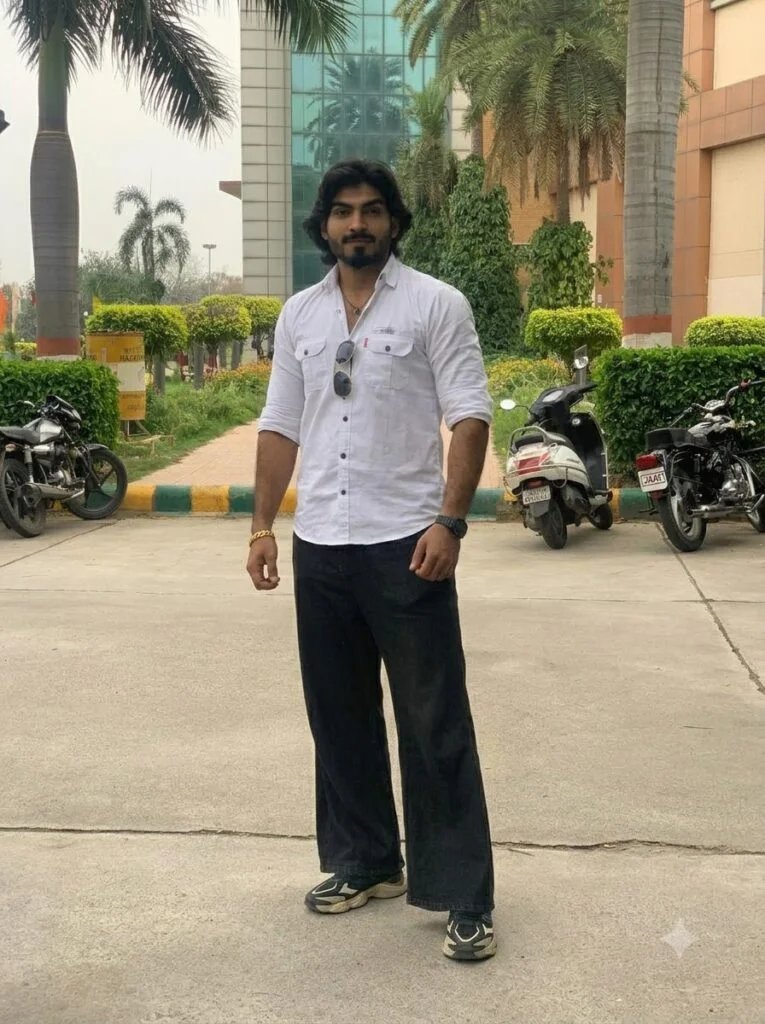
Enhance detail on a specific object in this photo (name the object, e.g. jewelry, a product, food) while keeping the rest of the image as close to the original as possible. Keep the uploaded photo's original aspect ratio and composition.
An editing instruction for “Enhance One Specific Object,” designed for clearer detail while protecting identity, texture, and natural color.
- Best for: fabric, hair, jewelry, and small-detail enhancement.
- Aspect ratio: keep the uploaded photo’s original ratio.
- Customisation tip: Name the main defect first and keep the identity-preservation instruction unchanged.
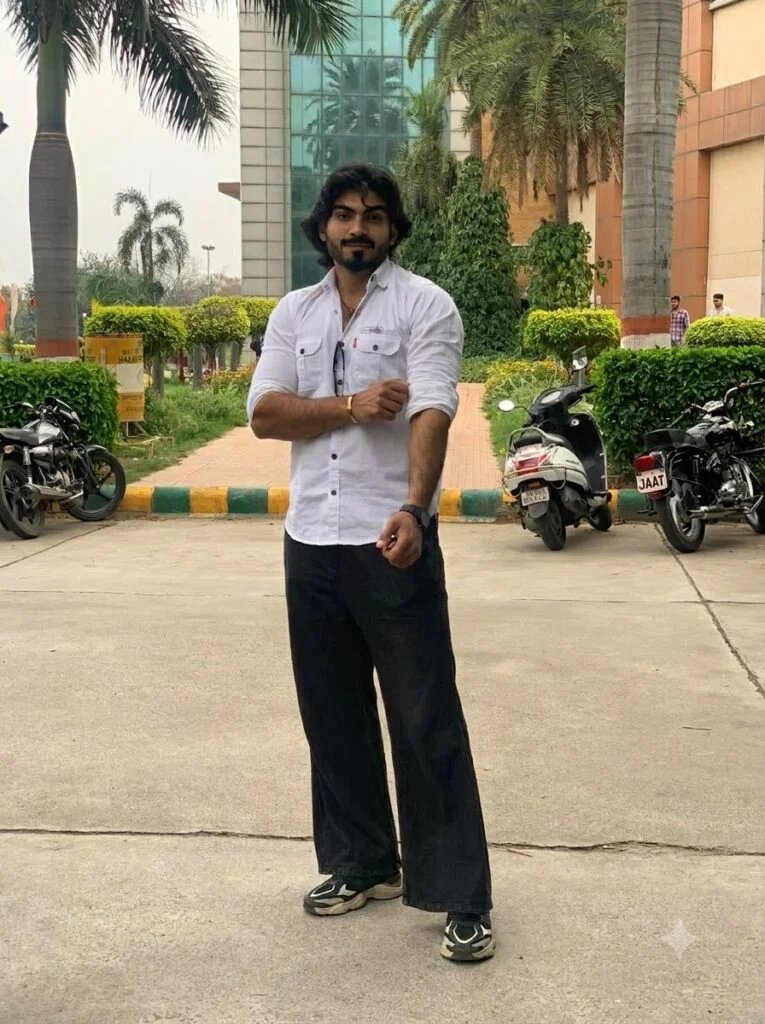
Improve clarity on text or fine print visible in this photo without distorting the letters, photorealistic result, keep everything else unchanged. Keep the uploaded photo's original aspect ratio and composition.
An editing instruction for “Improve Small Text and Fine Print,” designed for clearer detail while protecting identity, texture, and natural color.
- Best for: fabric, hair, jewelry, and small-detail enhancement.
- Aspect ratio: keep the uploaded photo’s original ratio.
- Customisation tip: Name the main defect first and keep the identity-preservation instruction unchanged.
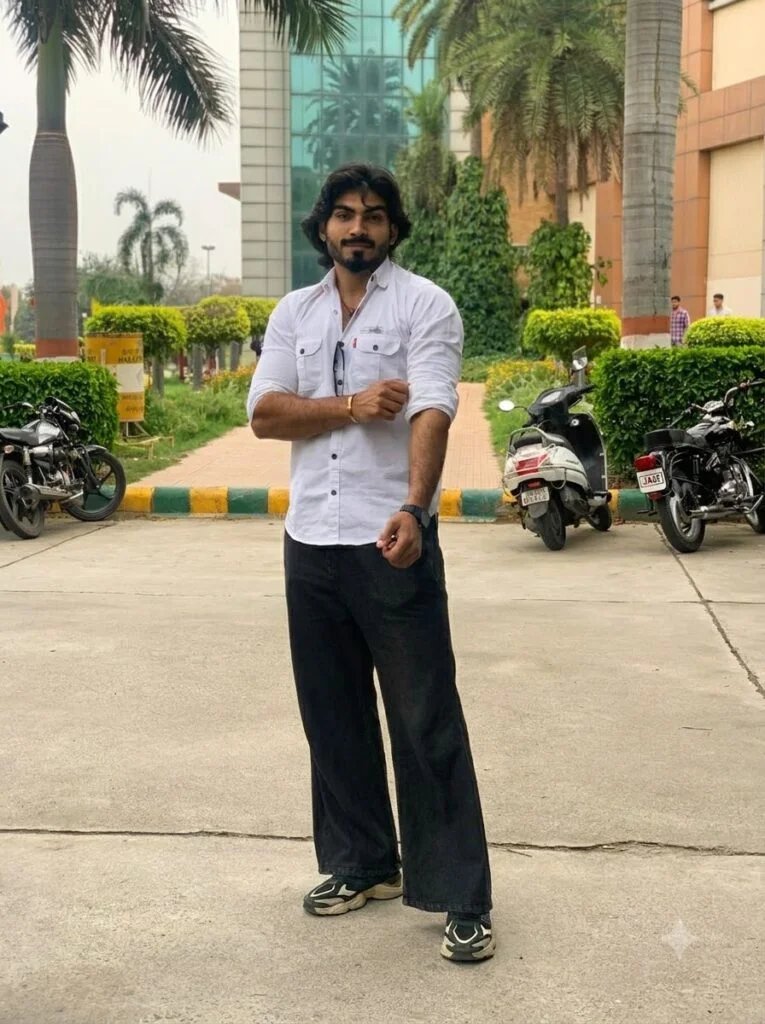
Sharpen the overall photo while preserving natural depth of field — keep the background softness if the original photo has it, only enhance detail in the sharp areas. Keep the uploaded photo's original aspect ratio and composition.
An editing instruction for “Preserve Natural Depth of Field While Sharpening,” designed for clearer detail while protecting identity, texture, and natural color.
- Best for: fabric, hair, jewelry, and small-detail enhancement.
- Aspect ratio: keep the uploaded photo’s original ratio.
- Customisation tip: Name the main defect first and keep the identity-preservation instruction unchanged.
Identity protection
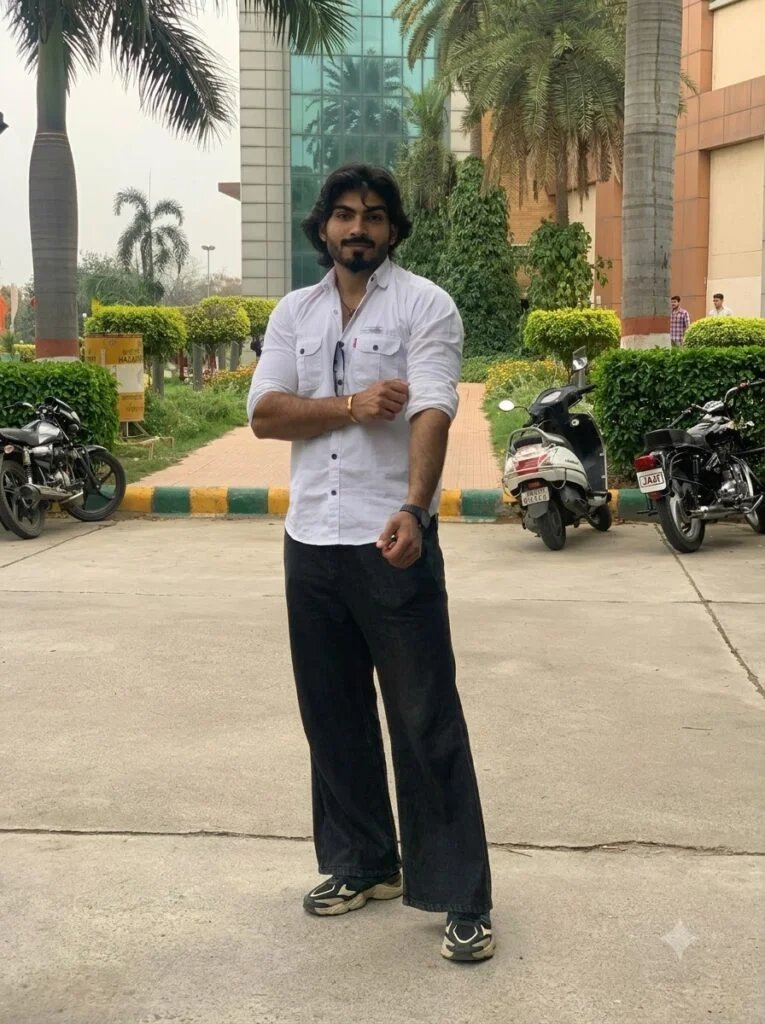
Enhance overall sharpness and lighting in this photo while keeping the person's facial features, proportions, and expression exactly as they appear in the original — do not alter the face. Keep the uploaded photo's original aspect ratio and composition.
An editing instruction for “Preserve Identity While Enhancing a Portrait,” designed for clearer detail while protecting identity, texture, and natural color.
- Best for: portraits where facial accuracy matters most.
- Aspect ratio: keep the uploaded photo’s original ratio.
- Customisation tip: Name the main defect first and keep the identity-preservation instruction unchanged.
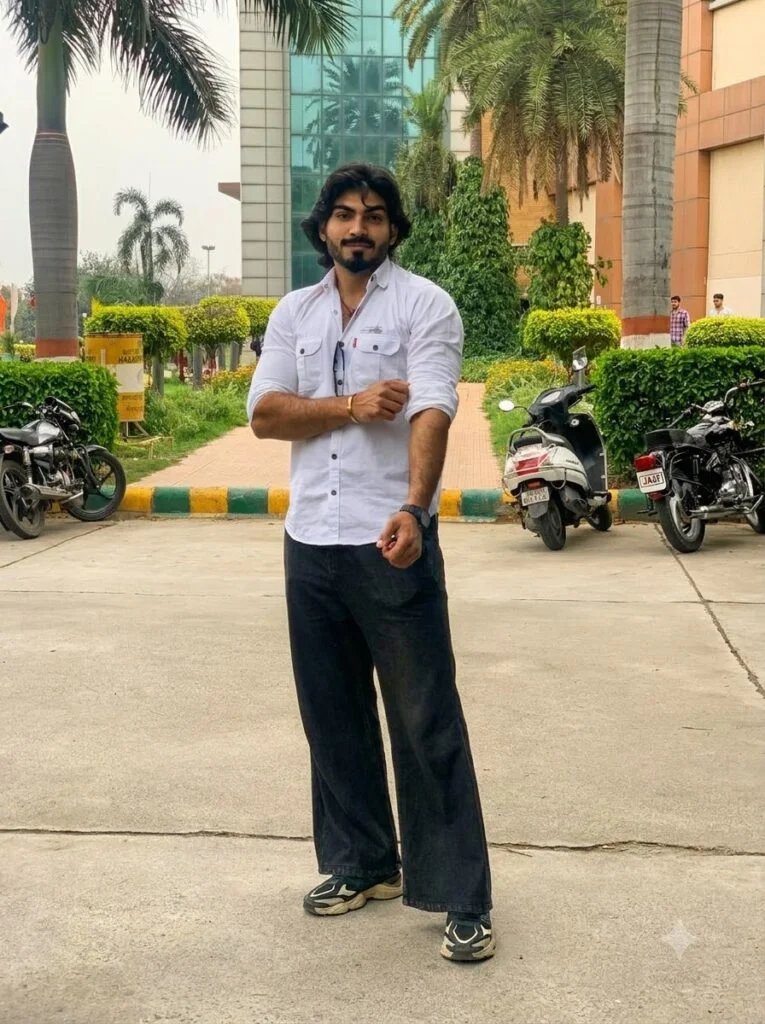
Improve photo quality and detail without changing the subject's body shape, facial structure, or skin tone from the original image. Keep the uploaded photo's original aspect ratio and composition.
An editing instruction for “Enhance Detail Without Changing Body Shape,” designed for clearer detail while protecting identity, texture, and natural color.
- Best for: portraits where facial accuracy matters most.
- Aspect ratio: keep the uploaded photo’s original ratio.
- Customisation tip: Name the main defect first and keep the identity-preservation instruction unchanged.
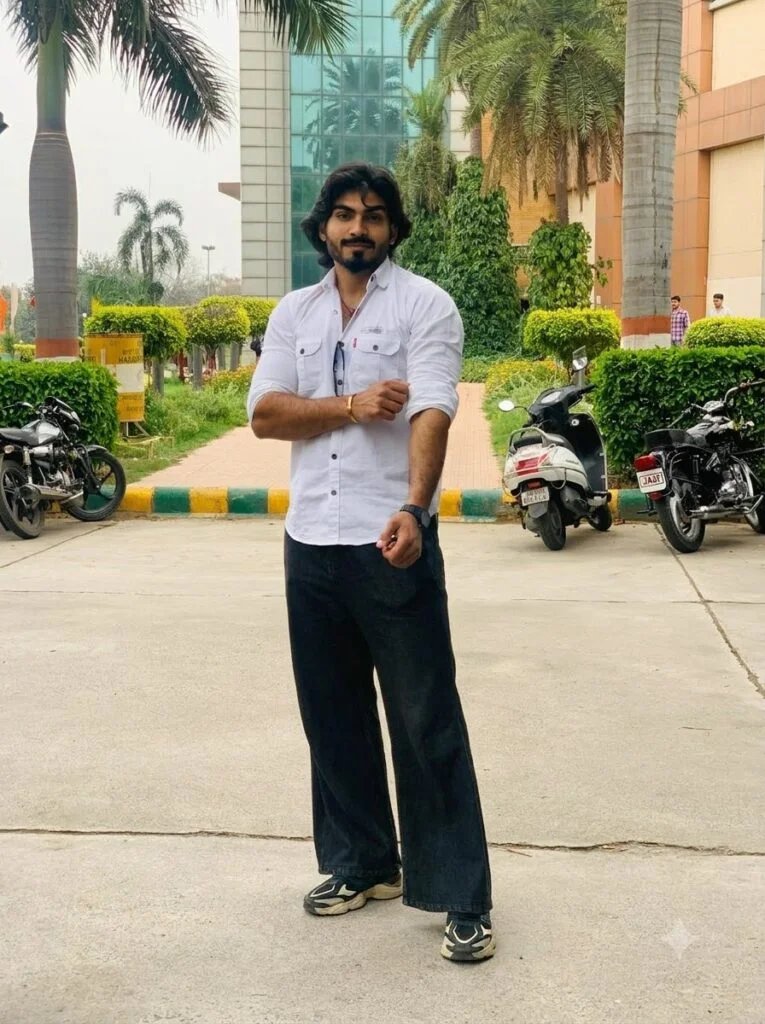
Sharpen and brighten this group photo while keeping every person's facial features unchanged and consistent with the original. Keep the uploaded photo's original aspect ratio and composition.
An editing instruction for “Sharpen a Group Photo While Preserving Every Face,” designed for clearer detail while protecting identity, texture, and natural color.
- Best for: portraits where facial accuracy matters most.
- Aspect ratio: keep the uploaded photo’s original ratio.
- Customisation tip: Name the main defect first and keep the identity-preservation instruction unchanged.
Output-size check
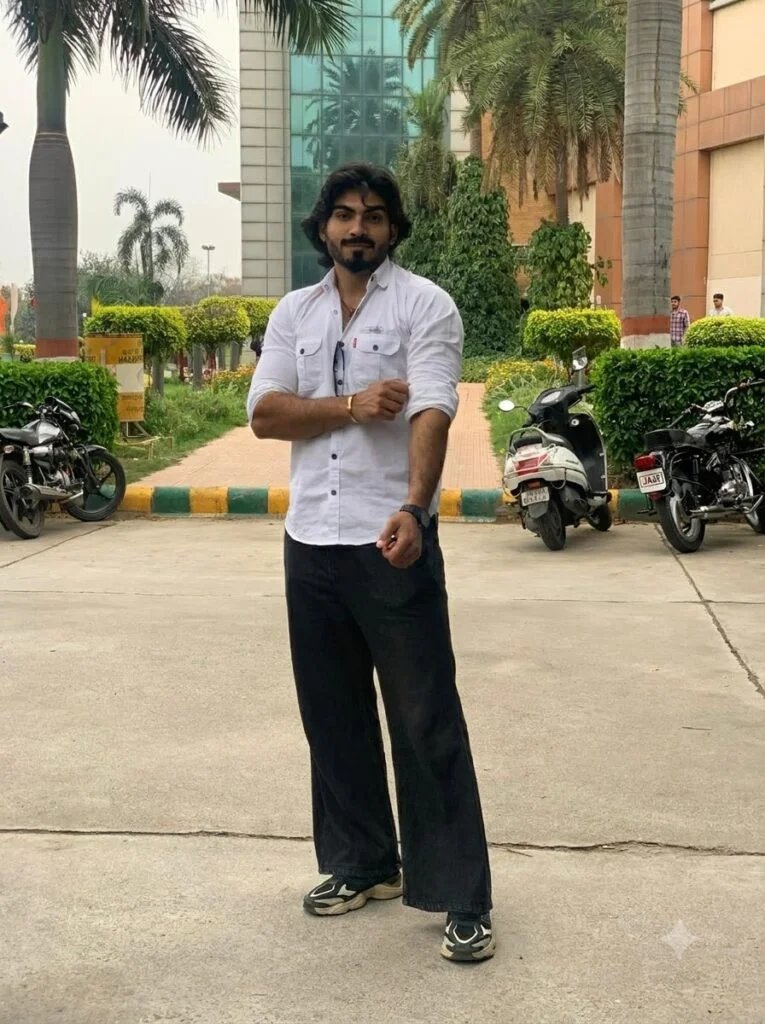
Enhance this photo for maximum clarity and detail within the current output settings, photorealistic, natural result — [after generating, check your download resolution setting in the app before assuming the file is a specific pixel size]. Keep the uploaded photo's original aspect ratio and composition.
An editing instruction for “Maximum Detail Within Current Output Settings,” designed for clearer detail while protecting identity, texture, and natural color.
- Best for: cleaner social posts, profile pictures, and print-ready edits.
- Aspect ratio: keep the uploaded photo’s original ratio.
- Customisation tip: Name the main defect first and keep the identity-preservation instruction unchanged.
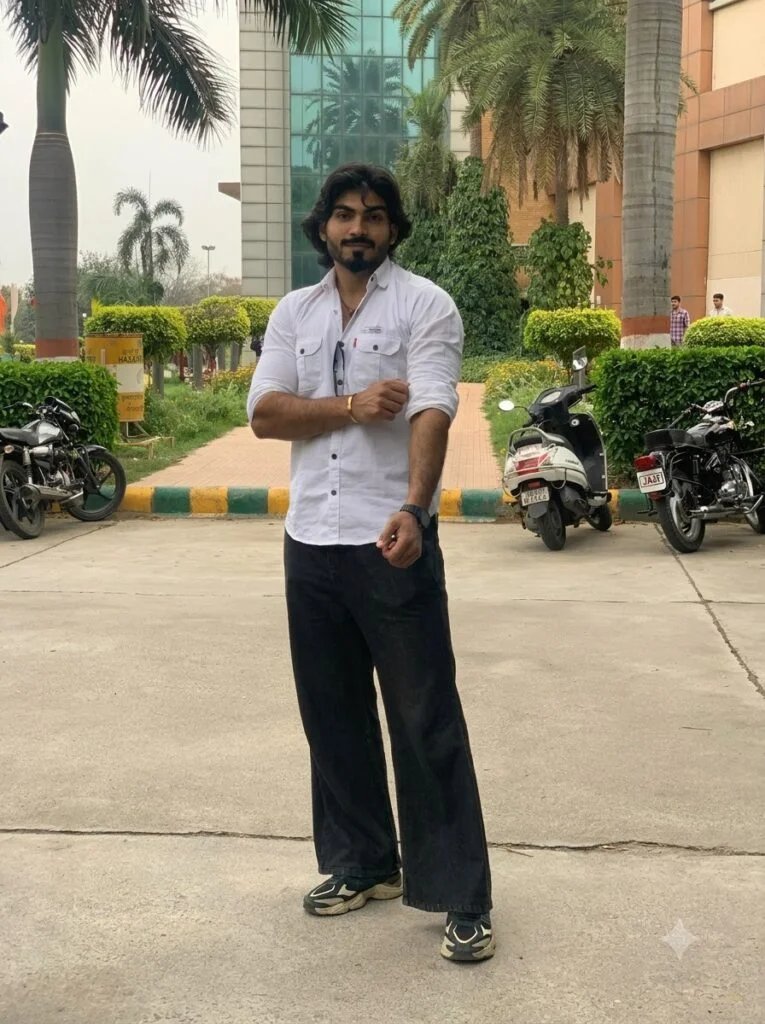
Improve this photo's overall quality for printing or sharing at a larger size than the original, sharpen detail and correct exposure, photorealistic, keep composition unchanged. Keep the uploaded photo's original aspect ratio and composition.
An editing instruction for “Natural Enhancement Without Invented Detail,” designed for clearer detail while protecting identity, texture, and natural color.
- Best for: cleaner social posts, profile pictures, and print-ready edits.
- Aspect ratio: keep the uploaded photo’s original ratio.
- Customisation tip: Name the main defect first and keep the identity-preservation instruction unchanged.
FAQ
Does asking for “4K” in a Gemini prompt actually produce a 4K file?
Not reliably. The wording nudges the model toward sharper, more detailed output, but the actual downloadable resolution is controlled by your plan and the app’s download settings, which currently top out at 1K or 2K for most consumer plans. Check your download option after generating rather than assuming from the prompt wording alone.
What’s the difference between “enhance” and “restore” prompts?
Enhancement prompts (this page) improve an already-intact photo — sharpness, lighting, detail. Restoration prompts fix damage — tears, water stains, faded color, missing sections. Use the restoration-specific prompts if your photo has physical damage.
Why does my enhanced photo look “over-smoothed” or plastic?
This happens when the prompt only says “enhance” without protecting texture. Add “keep natural skin texture, do not over-smooth” or “preserve fine detail like pores and hair strands” to avoid the airbrushed look.
Can I enhance an old, low-resolution photo taken on an early smartphone?
Yes, though results depend heavily on how much real detail exists in the source. Very low-resolution originals will look cleaner and sharper but won’t gain detail that was never captured in the first place.
Prompts on this page are original and written for GeminiGuru.