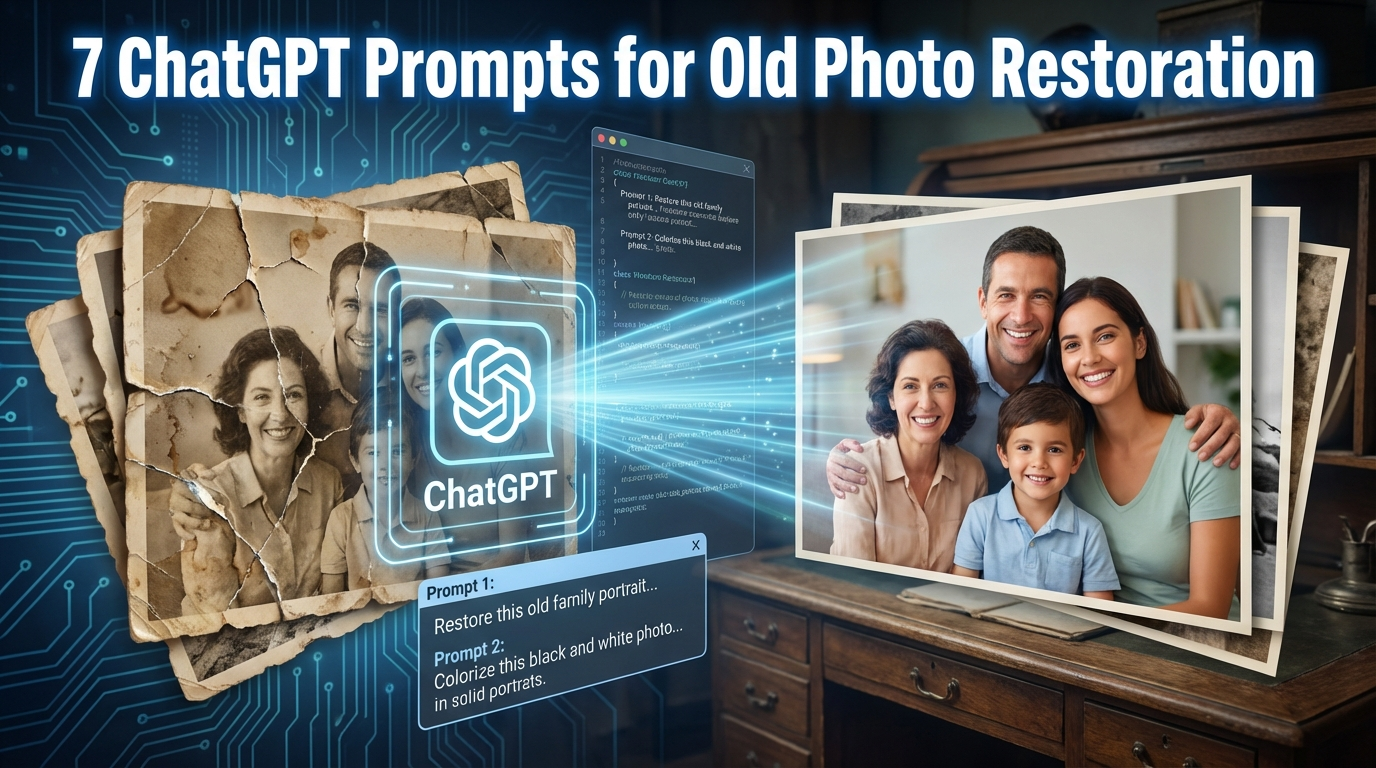
Oh, those dusty old photo albums! Don’t you just love stumbling upon them, flipping through brittle pages, and seeing echoes of a bygone era? I certainly do. Just last month, I found a tiny, faded photo of my great-grandparents, barely recognizable.
seekho — har din
✓ Real gig ideas for Fiverr & Instagram
✓ Weekly earning challenges
The edges were frayed, the color almost gone, but the spark in their eyes was still there, peeking through the damage. It made me wish I could magically restore it, not just for myself, but to share with my kids.
Well, what if I told you there’s a surprisingly simple way to breathe new life into those cherished memories? You don’t need fancy software or hours of training. All you need is the right way to describe your vision.
I’ve been experimenting with crafting specific descriptions, prompts, if you will, to guide this process, and the results have been truly heartwarming. Imagine turning a blurred, yellowed snapshot into a vibrant, clear portrait that tells its story all over again.
Why Bring Old Photos Back to Life?
Think about it. Each faded photograph is a tiny time capsule, holding stories, laughter, and sometimes, even a few forgotten tears. When we restore these images, we’re not just fixing pixels; we’re reclaiming a piece of our history, our family legacy.
seekho — har din
✓ Real gig ideas for Fiverr & Instagram
✓ Weekly earning challenges
I remember my grandma telling me stories about the people in her old pictures. She’d point out details, share anecdotes, and suddenly, those black-and-white figures felt alive. A restored photo amplifies that connection, making it easier for new generations to feel the warmth of their ancestors.
It’s about bridging the past with the present, creating tangible links to where we came from. Plus, there’s immense joy in seeing a beloved, but damaged, image sparkle once more.
Prompt 1 – Restore Clarity and Focus
Many old photos suffer from blurriness or a general lack of sharpness. This prompt focuses on bringing out the intricate details that time has obscured. You want to ask for crispness without making it look unnatural. Think about the textures the fabric of a dress, the expression on a face, the leaves on a tree in the background.
Please enhance the clarity and sharpness of the main subjects, particularly their faces and attire. Reduce any general blurriness to bring out fine details in their features, hair, and clothing texture. Ensure the background maintains a slightly softer focus to highlight the foreground subjects, but clarify any identifiable elements without harshness. The goal is a crisp, detailed image with natural visual depth.Prompt 2 – Correcting Color Fading and Casts
Yellowed photographs are incredibly common. Sometimes, there’s a strong color cast, like a greenish tint, from poor development or aging. This prompt helps restore natural, vibrant hues.
Remember to describe the original colors if you know them. Was that dress originally a deep blue, or a soft pink? Even a guess helps immensely.
seekho — har din
✓ Real gig ideas for Fiverr & Instagram
✓ Weekly earning challenges
Remove the pervasive yellow/sepia color cast from the entire photograph. Restore the original, natural colors to their intended vibrancy, focusing on realistic skin tones, green foliage, and blue skies. Correct any areas that appear washed out or overly saturated, aiming for a balanced and lifelike color palette reminiscent of a freshly printed photograph from that era. Ensure no artificial tints are introduced.If you’re interested in recreating specific looks, even for modern photographs, understanding how to describe colors and moods is crucial. It’s similar to how you’d use prompts for creative father, mother, and son photos, where specific color and stylistic details can make all the difference.
Prompt 3 – Repairing Tears, Creases, and Scratches
Physical damage is often the most heartbreaking part of old photos. Tears, creases, and scratches can obscure crucial parts of an image. This prompt targets those specific imperfections.
Be precise about where the damage is and what kind it is. A sharp crease needs different attention than a fine scratch or a missing corner.
Carefully remove all visible tears, creases, and scratches present across the photograph, especially on the faces of the subjects and prominent background elements. Reconstruct any missing portions of the image, such as torn corners or edges, by intelligently sampling surrounding textures and colors to create a seamless repair. The restoration should be imperceptible, making the photo appear untouched and undamaged, without any blurring or distortion introduced by the repair.When you’re trying to achieve a specific aesthetic, whether it’s fixing an old photo or creating a retro style couple photo for Instagram, detailed descriptions are your best friend. The more information you provide, the closer you get to your desired outcome.
Prompt 4 – Enhancing Faces and Features
Often, the faces in old photos are the most important part. They hold the emotion, the personality. This prompt focuses on bringing them forward subtly.
The goal here is not to ‘beautify’ or change someone, but to restore the natural clarity and vibrancy of their expressions, making their eyes sparkle and their smiles shine as they once did.
Gently enhance the facial features of all individuals in the photograph. Clarify eyes to give them a natural sparkle without over-sharpening, smooth out very minor skin imperfections while preserving texture and character, and subtly define lips and hair. Avoid any artificial 'plastic' look or significant alterations to their natural appearance. The objective is to make their expressions clear and lifelike, as if they were photographed yesterday.Prompt 5 – Adding a Touch of Realistic Color Black and White Photos
Converting black and white photos to color can be incredibly transformative, bringing a whole new dimension to historical images. This requires careful description to ensure authenticity.
Think about the era, the common colors of clothing, cars, or surroundings. Even if you don’t know the exact shade, providing context helps.
Carefully colorize the entire black and white photograph, aiming for natural and historically accurate hues. Apply realistic skin tones, appropriate clothing colors for the era (e.g., muted blues, browns, greens, creams for the early 20th century), and natural environmental colors (blue sky, green grass, brick buildings). Ensure shadows and highlights retain their depth and form, and that the colorization blends seamlessly without appearing artificially painted or overly vibrant. The goal is a realistic, period-appropriate color rendition.Just like giving personality to a black and white image, you can use specific details to generate adorable and cute baby photos, capturing those fleeting moments with precision and charm.
Prompt 6 – Adjusting Lighting and Contrast
Poor lighting can make a photo look flat or obscure details in shadows. This prompt aims to balance the light and contrast, making the image pop.
You want to achieve a natural, balanced look, not an overly dramatic one. Think about how light naturally falls and how shadows create depth.
Optimize the overall lighting and contrast of the photograph. Brighten areas that appear underexposed or shadowy, revealing hidden details without blowing out highlights. Reduce excessive brightness in overexposed areas to recover detail. Adjust the contrast to add depth and dimension to the image, making figures and objects stand out more distinctly against the background, but avoid harsh or artificial-looking contrasts. Aim for a balanced, naturally lit appearance.Prompt 7 – Specifying Style and Mood for a Perfect Finish
Sometimes you want more than just a repair; you want to infuse a particular mood or stylistic finish. This final prompt lets you guide the overall aesthetic.
Do you want it to feel authentically vintage, or crisp and modern? A warm glow, or a cool, contemplative feel? This is where your creative input truly shines.
Apply a specific stylistic finish to the restored photograph. Choose one: either a 'vintage matte print' style with slightly subdued colors and a soft, non-glossy appearance, or a 'crisp, modern digital' style with enhanced vibrancy and sharp details. Ensure the chosen style maintains the authenticity of the original subject matter. Introduce a subtle, warm vignette around the edges to draw focus to the center, enhancing the nostalgic mood without obscuring details.Conclusion
There’s something truly magical about seeing a faded memory blossom back to life right before your eyes.
It brings a sense of continuity, a deeper appreciation for the moments captured, and a wonderful way to connect with the past.
So, go dig out those old photo albums. Find that special picture that’s been waiting for its moment to shine. Use these prompts, experiment, and prepare to be amazed.
Don’t forget to save this article for later, share it with a friend who loves history or family heirlooms, and then come back and tell me about the memories you’ve revitalized!